Showing posts with label airbrush. Show all posts

Wednesday, April 17, 2013

Riptide WIP

Tau Riptide with Heavy Burst Cannon
Riptide Front
Tau Riptide shield
Riptide shield arm
Riptide with Ion Accelerator
Riptide with Heavy Burst Cannon
I picked up a Riptide over the weekend and manged to get most of it done.  Still need to go in a do all the lenses with purple, and I might add some more black and white on the body to provide some contrast, but I'm really happy with how it's turning out.  I've magnetized the weapons so that I can take either of the main weapons or secondary weapons.  Still need to do the little support system bits that come with the kit which will also be magnetized.  The kit is great and it was a lot of fun to build.

Wednesday, April 10, 2013

Mymeara - Fire Prism

Mymeara Eldar Fire Prism
Mymeara Fire Prism
Finished up the Fire Prism tonight.  I absolutely love how it turned out.  The red/orange/yellow crystal with the cool jade and turquoise just really stands out.  I tried to do something similar with the gems, but without using the airbrush it just didn't look very good so I went back to the purple gems.  I need to figure out how to build a better base for them though, as the metal turret makes the model extremely top heavy.  Also did a bit of free-hand with the fire prism rune on the wing.  I wish the Mymeara logo was a little less complicated.  I might have to see if I can get it on some transfer paper and try that way.

Tuesday, April 9, 2013

Skimmer WIP

So I pulled out all my old Eldar skimmers to repaint.  One falcon needs some repair work done on it, and both Falcon turrets are need of some TLC before they get painted.  The Wave Serpents all had their guns removed so that I can figure out a good way to magnetize them.  I decided against stripping the paint, as I found it doesn't come off evenly, and with thin airbrush coats the texture comes through.  They are not perfect, but considering that I got them for extremely cheap second hand, I'm not going to complain.

I used all Vallejo paint at this point.  White primer through the airbrush (only way to prime here in Seattle with the weather), followed by Vallejo GC Jade Green, Turquoise both thinned out with Matte Medium and a little water/flow aid.  The Fire Prism crystal is painted with Vallejo Model Air Yellow, Orange, and Scarlet Red.  Next step will be to varnish it and start on black lining.  

Models ready for a new paint job
Primed
Jade Green applied
Turquoise

Monday, April 1, 2013

Land Raider WIP

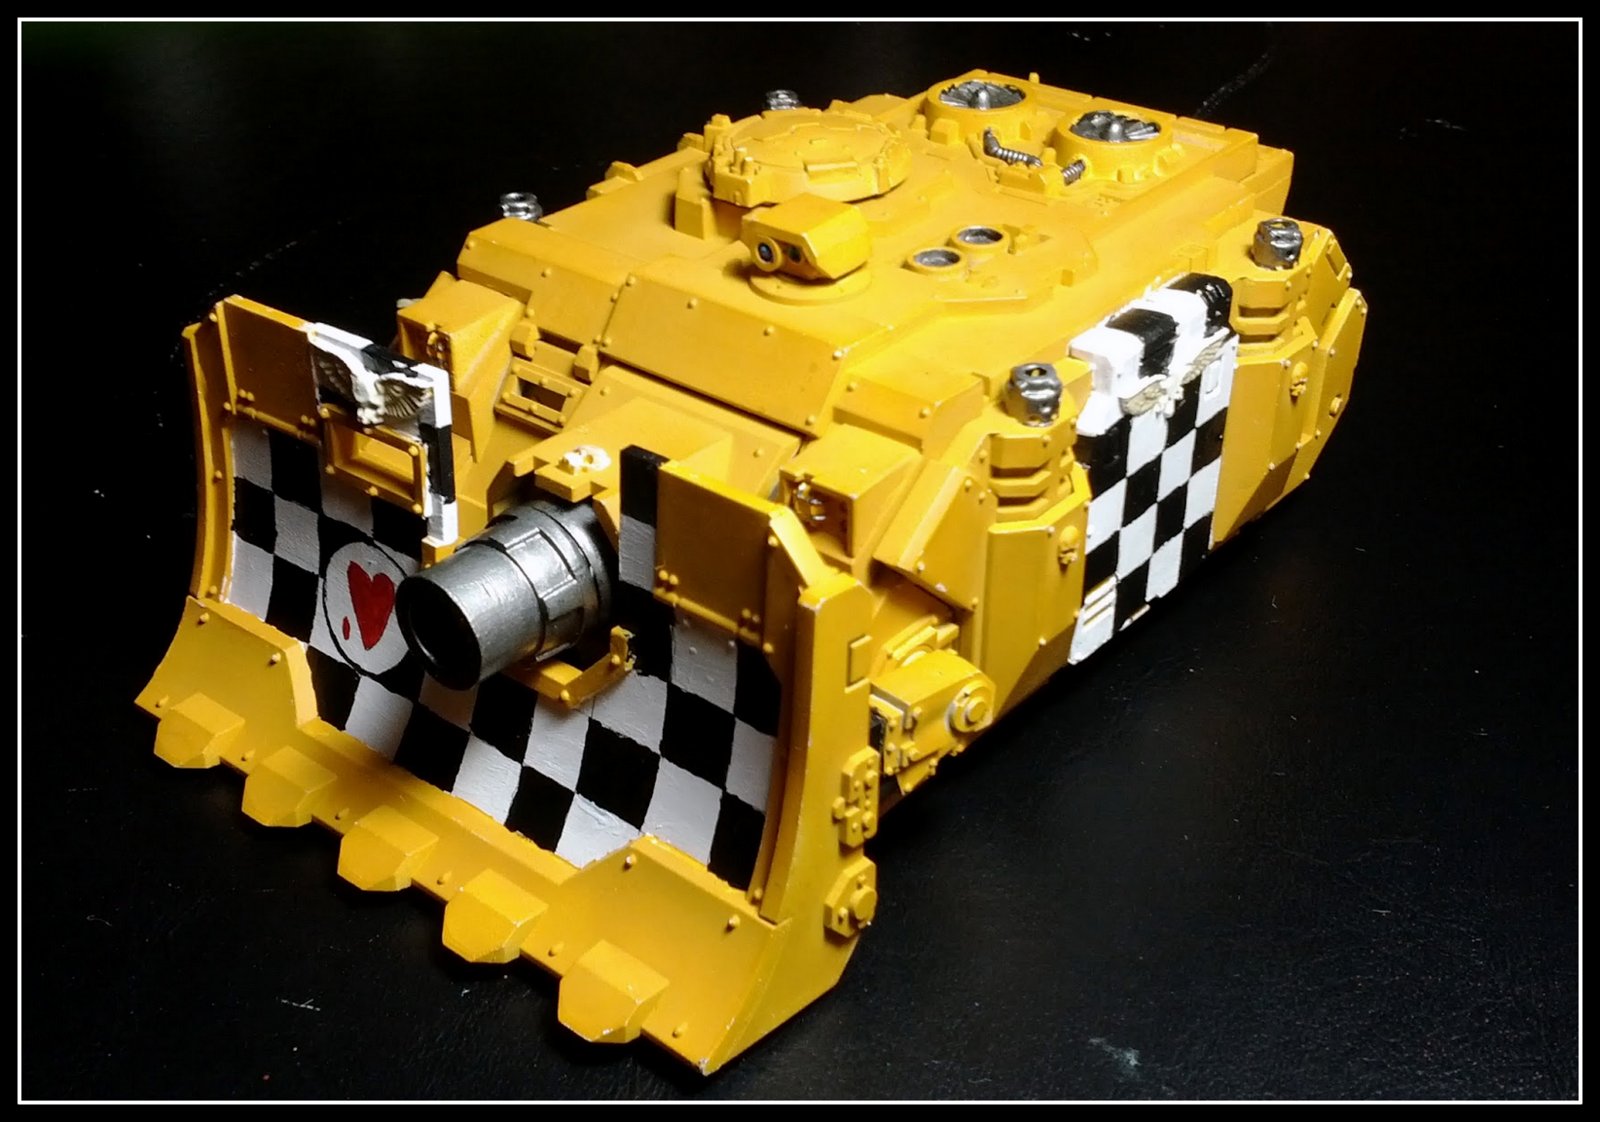
I started repainting the second Land Raider trying to use the airbrush to a better effect.  I picked up some more Vallejo Model air colors and can do a decent shading effect now.  I'm pleased with how it turned out and it ends up being a more true yellow versus my prior scheme.  Still need to do all the detail work and black lining, but it's moving in the right direction and my quality is improving.

Lamenter's Land Raider
Top View
Side View


Thursday, January 24, 2013

Mymeara Guardians and War Walker WIP


Posted by Picasa
The last few days have been really productive.  The airbrush really makes these guys fast to put together.  Still need to do the gems/details and touch up the weapons, but a couple hours should have them table ready.

Tuesday, November 13, 2012

New Primer

Here in Seattle we have a lot of rainy days.  Makes it really hard to prime models during the wet season (October-June).  I recently picked up some Vallejo Surface Primer which can be put through the airbrush to see if that would work.  Tried it out tonight and it's absolutely fantastic!  I did have to up my air-pressure a little bit to spray it without blocking the airbrush up, but it goes on super thin and smooth.  The best part is that it comes in a variety of colors to make painting easier.  There is almost zero smell so the wife won't be bothered by the freshly sprayed models either.  Highly recommend.

White Primer at The Warstore


Wednesday, August 15, 2012

Allies Incoming - Tau Hammerhead

Tau Hammerhead

My first Tau model is finished up and ready to ally with the Eldar.  Really excited with how it turned out and love the Mymeara color scheme on these guys.  I'm getting better at doing the black-lining.  My process now is to gloss varnish the model and then use a heavy black wash in the crevices.  You can wipe off any over-spillage with a wet paper towel and it flows into the cracks nicely.  After it dries I apply a matte varnish spray to take the shininess away.  Can't wait to see more of the Eldar and Tau models in the color scheme.

Painting a Storm Raven


So with one Storm Raven down, I figure I should learn a few things from the first build and painting that I could really do a better paint job, with much less effort.  The first thing was not gluing everything together, rather do sub assemblies that can be combined when the majority of the painting work was done.  So I built the wings, engines, and hull separately and then primed and airbrushed the base coat.  I'm much better with the airbrush now as well, and the finish on this one is much better.  I'm using Vallejo GC Heavy Ochre as my base color (thinned down about 1:1).

I also masked off a couple parts of the model that will have the checkered pattern on it.  I used blue painters tape, and then cut squares out and laid out in the area to do the black.  Much easier than free-handing all of them, though I will need to go do some cleanup.  I'm planning on adding more black and red details to break up the yellow and give it some nice contrast.  This model is also magnetized, and I made sure the polarity lined up with the other Storm Raven so I won't have to keep the different bits separate from each other.  The result should be finishing the model in a fraction of the time, to a higher quality.

Wednesday, August 8, 2012

Tau Hammerhead WIP

Tau Hammerhead in Mymeara colors
The Eldar are receiving reinforcements.  With the new Allies rules, I pulled some Tau stuff out of the garage that I've had for a while.  I found part of a Tau mega-force box at Value Village a few years back and have been holding on to them until I had the resources or desire to build a Tau force.  Well with the new ally system I don't need much to get a small force of Tau to supplement the Eldar.  I've decided to just paint in the same color scheme as the Mymeara Eldar to keep a nice cohesive look.  I have no plans on growing them beyond maybe a 1000 points or so for use in Ally games.  I really enjoy the aesthetics of the Tau tanks, the battlesuits, on the other hand, are a little too clunky looking.  I like what Forge World have done with the battlesuits, but can't afford that sort of thing right now, especially for a secondary force.  I should be able to finish this guy up this week, and also have a Land Raider on the table that will hopefully get finished as well.

Saturday, August 4, 2012

Wraithseer WIP #2

Broke the airbrush out last night after finishing the assembly up on the Wraithseer and put the base coats down.  One thing I love about this army is how fast you can paint it, while having it still look nice.  Still need to do the ten trillion gems and other detail work.  I'm going to do the spear blade and shield with the airbrush in some nice purples when it's dried enough to mask off.  Will be putting snow on the base as well.

Airbrushed Mymeara Eldar Wraithseer Conversion 
Airbrushed Wraithseer conversion in Mymeara colors 
Airbrushed Mymeara Eldar Wraithseer Conversion

Wednesday, June 27, 2012

Scorpion Grav Tank WIP

Mymeara Scorpion Grav Tank
Scorpion Grav Tank
 So after a bath in simple green and some scrubbing to remove the old paint job, I primed up the Scorpion Grav Tank for my Mymeara Eldar and got a base coat down with the airbrush.  There's a whole lot more work to go and I'm really not looking forward to painting the giant gems on this thing.  I still have a lot of trouble making them not look terrible.  I might try masking the hull and use the airbrush as that could give me some nice gradients.

Thursday, June 21, 2012

War Walker WIP

Eldar Mymeara War Walker
Mymeara War Walker 
I worked on a War Walker tonight for my Mymeara army.  I'm really excited so far with how it's coming out.  Looks much better than my old paint scheme.  It's also nice to have a break from painting so much yellow with the Lamenters, though I will continue to work on them as well.  The weapons are magnetized and will be white and black when they are painted up and the upper body is also magnetized to the legs for transport.  As a bonus most of the work is done with the airbrush so the army should paint up pretty fast.

I'm going to try something different with the bases and use some water-effects to have an ice-world theme.  Also looking at different products and ways to do snow.  I've seen the baking soda methods as well as the crushed glass products.  Might have to try a few out to see what works best.

Monday, June 11, 2012

Mymeara color scheme test


Posted by Picasa


I couldn't sleep last night after getting a nasty cold, so I pulled out the airbrush and paints and did an experiment to see what colors to redo my Eldar in.  I like the result so-far, though I went a little too heavy with the blue on the airbrush and in future models will have more green.  Also the white is a little too stark.  I will try and get a warmer white for the base and use the brighter just on the highlights.  I also had some trouble with the airbrush clogging up on the paint, so I need to mix my base colors up with a lot more thinner in a separate dropper bottle ready to go for when I crank the army out.  I also need to figure out what I'm going to do for bases.  I want to make ice-field bases.  I'm thinking maybe I could use some water-effects on top of painted-broken tiles.  Should be a fun experiment.

Colors used:

White Pimer
Vallejo GC Jade Green base
Vallejo GC Turquoise
Vallejo MC Black
P3 Menoth White Highlight
Gems were done with Citadel Liche Purple and Warlock Purple.

Friday, May 25, 2012

Storm Raven Finished

So I have finished up the Storm Raven for now.  I'm really pleased how it came out.  I of course found a few areas I need to touch up after taking the pictures, but overall it's done and ready for action.  I tried some new stuff with this, using my new airbrush for the first time for a vehicle (absolutely wonderful compared to hand painting the large flat areas).  I also did the blacklining on the model with and oil paint wash after gloss varnishing the model, that let me wipe off the paint from where I didn't want it, which is huge when working with yellow.  I also magentized all the option on the kit so I could change out the various weapons and side sponsons.  
Storm Raven w/ assault cannon and hurricane bolters
Plasma cannons
  
Side view with lascannons
Magnetized Lascannon and armor plating.
Magnetized hurricane bolters.
Posted by Picasa

Wednesday, May 23, 2012

Vindicator WIP


So tonight after the little man went to sleep, I had some time to do a little hobby work.  I had assembled and primed this Vindicator a week or two ago, and managed to get a base coat down with the airbrush a few days ago.  I spent some time blacking out all the area that would be metallic, getting the metals down (though not washed yet) and getting the checks laid out.  Really happy with how it's looking and it shouldn't take too much longer to finish up.  I'm going to use the black oil paint to black line it after I've finished with the details.

I did managed to play a game with it yesterday, and it performed admirably in that it never got to shoot with my opponent being nervous about it.  Probably need to take at least 2 of them if they are going to be effective, or maybe hold it in reserve and bring it out later since it can move and shoot being a fast vehicle.

Lamenter's Vindicator


Saturday, May 19, 2012

Lamenters Paint Scheme Part 1 - Assault Marine

Just wanted to document the process I am currently using to paint my Lamenters.  First up, yellow is hard.  It's a major pain to get right.  I have gone for a browner/darker yellow rather than a bright yellow.  Second, I'm not the greatest painter as I haven't been doing this for very long, but you might find something useful. My goal is to get a nice looking army on the tabletop and nothing more.

A few things on assembly and preparation. I would definitely magnetize the jump packs, or at least paint them separately.  They make the shoulder pads really tricky to get right and doing seperate would make this a lot easier.  My first 20 or so models were all glued on before hand they take a lot longer to paint.  as a bonus for Blood Angels codex armies, you can run them on foot (though personally the reason I chose to run a BA codex army is the jump infantry.

Step 1:  Prime the models.  I do a two part prime, first with black to get into the shadows and then white from above.  I would definately recommend a white primer when painting yellow.  It takes just too many coats to get a decent coverage over black, though the new GW base colors might work if you want to go that way.


Step 2: Base Coat yellow.  I used my airbrush to put down the base coat using Vallejo GC Heavy Ochre.  You really need to water these down to put them through an airbrush as they are similar to the foundation line of paints from GW.

Step 3:  Paint the base with Charadon Granite.

Step 4: Base coat everything that will be metallic with black.  No need to be very neat here as we will be fixing all the messy brushing later in the process.

Step 5:  Base coat white.  I'm using the new GW base paint Ceramite White.  It only takes 2-3 coats rather than 4-5 that most whites took.  I had good luck in the past with using Vallejo off-white and then bringing it up to white, but this seems to work fairly well.

Step 6:  Eyes.  I do mine green starting with P3 Gnarls Green and then highlighting that with GW Scorpian Green.  A wash of Thraka green wash brings it together nicely (not pictured here).  Also note that I'm still being messy as this will get cleaned up later.

Step 7:  Paint purity seals, aquila, etc with P3 Menoth White Base.

Step 8:  Wash armor and aquila with Gryphonne Sepia wash.  I apply this liberally, but you want to make sure you get a good coat in the cracks and recesses.  Pictured here still wet.  I generally would do this step last in a painting session to let dry overnight.  You can do some of the later steps pictured here before this wash is done.

Step 9:  Paint metallic areas with Boltgun Metal followed with a wash of Badab Black.  Again not being too careful here, we can clean up still.

Step 10:  Checks!  This is where things get difficult.  I use a 0.3mm drafting pencil to draw my lines in and then go in with black first.  This will be tricky and I am still not super neat and tidy about it.  Follow up with the Ceramite White to cleanup as best you can.


I will continue this later with part 2 where I go and finish up with highlights and cleanup the mess made so far.